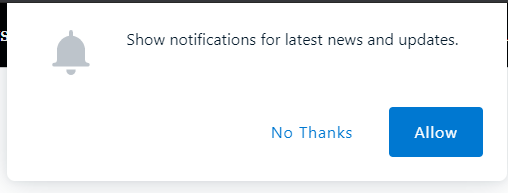
Recently, I had to initialize OneSignal with a custom call and realized that the custom text for prompt was not working. I wanted it to say “No Thanks” instead of the cancel button as per the screenshot below.
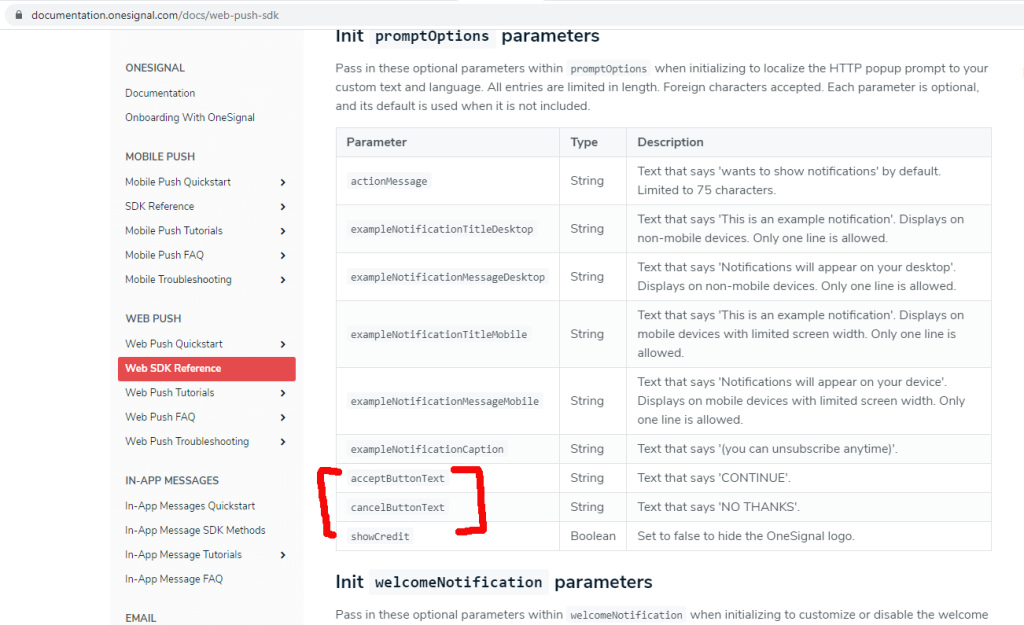
As per the documentation, acceptButtonText can be used to customize the prompt button text for “Accept” and cancelButtonText can be used to customize the button text for “Cancel”. But It never worked for me. So, I tried contacting OneSignal and found out that the information given in the documentation is wrong. We have to use acceptButton and cancelButton instead, and that fixed the issue.
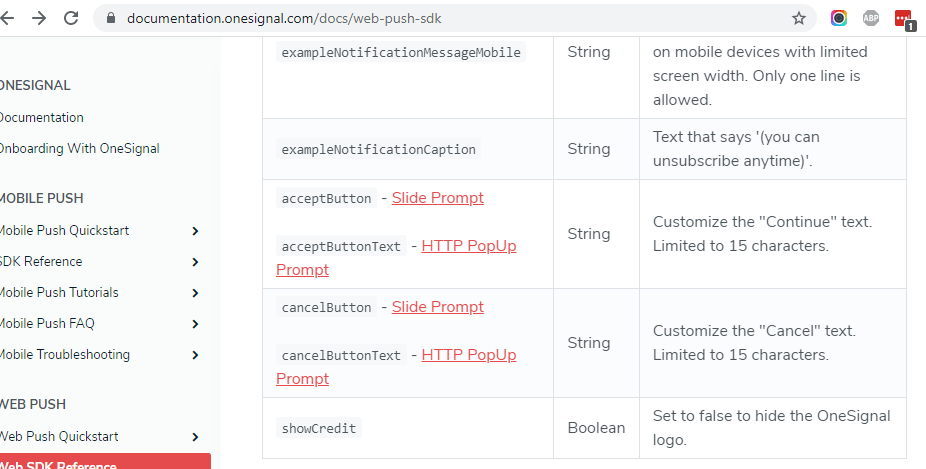
OneSignal has finally updated their documentation at https://documentation.onesignal.com/docs/web-push-sdk , to clarify that acceptButton and cancelButton are for slide prompt and acceptButtonText and cancelButtonText is for HTTP PopUp Prompt.
If you are using the PWA plugin on your website, you may have to do a few changes to the website to get OneSignal push notifications to work properly.
PWA implementation needs adding a service worker to the site. OneSingal also needs to have service worker implementation so that, it can allow users to subscribe for push notifications. We have to change the service worker scope, keeping the service worker path the same to get OneSignal to work properly.
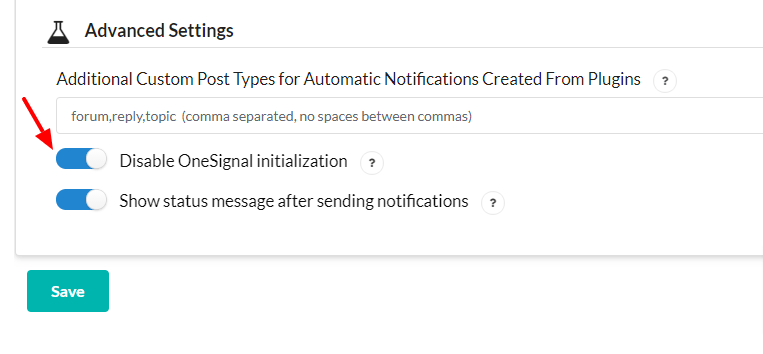
1) Disable OneSignal initialization
Go to OneSignal setting page called OneSignal Push in your WordPress website admin section and scroll down to Advanced Settings. There, you will have to check the option to Disable OneSignal initialization. Now in the next step, we will have to insert custom JavaScript code, which will do the OneSignal Initialization.
Step 2: You can add the following JavaScript code right before </head>(head tag close), Which initializes the OneSignal and Custom prompt notification.
note : The above code had acceptButtonText and cancelButtonText as per referenced from the documentation of onesignal website at the time of writing. But after communicating with OneSignal, I finally got it corrected. The actual variables to customize OneSignal notification prompt is acceptButton and cancelButton. The code was updated on 29th August, 2021.